Friday 13 December 2013

5 Things you should know before planting a garden


1.       What is the ph your soil?

The degree of acidity or alkalinity of soil is referred to as its ph level. You can get a simple soil ph testing kit from the garden centre. Different plants prefer different ph levels.  Ph is measured on a scale from 0 to 14 – 0 being the most acid, 14 being alkaline and 7 being neutral.

Most plants will grow in neutral soil, some, for example, rhododendrons and azaleas prefer acid soil, others, like Cercis and Aucuba prefer an alkaline soil.

2.       What type of soil do you have?

Soil is composed of small particles which vary in the degree to which they can hold water which influences the consistency of the soil.  Soil containing a lot of particles derived from soft materials like clay will hold a lot of water and create be sticky and heavy.  Soil containing a lot of particles derived from harder materials like granite will not hold much water at all creating a light, free draining soil.  Soil types are described on a scale ranging from clay at one end to sandy at the other end.  When you get a good balance of the two you will have the perfect soil which is referred to as a loamy soil.

Different plants prefer different soil types.  Many plants suitable for a clay soil will not enjoy growing on a sandy soil and vice versa.

3.       What is the aspect of the garden?

The direction the garden faces will influence the light levels in various parts throughout the day.  Some gardens are in full sun all day, others receive very little sun at all.  It is more likely that part of the garden will be fully shaded all the time, part will have the sun all day and one area will have dappled shade for most of the day. 

It is important to choose plants that prefer to grow in the light conditions specific to any given part of the garden.

4.       What are the ground conditions?

A high water table or an underground stream or drainage problems caused by compacted or heavy soil will cause waterlogging which will influence what will enjoy growing in your garden.   A garden built on a very rocky site with a lot of chalk will be free draining and will dry out very quickly. 

Some plants thrive in a bog garden whilst others will simply rot and prefer a dry, sunny position.

5.       What plants are already in the garden?
When you move house take time to find out what is already growing in the garden before starting to re-plant.  This will reveal the type of plants that like the conditions in the garden and therefore what other plants will also be suitable. It is not only the wanted plants that you’re looking for, but also any undesirables that are lurking under the blanket of winter.  Mares Tail and Bindweed both go to ground in the winter and will need to be dealt with before any new plants are introduced.

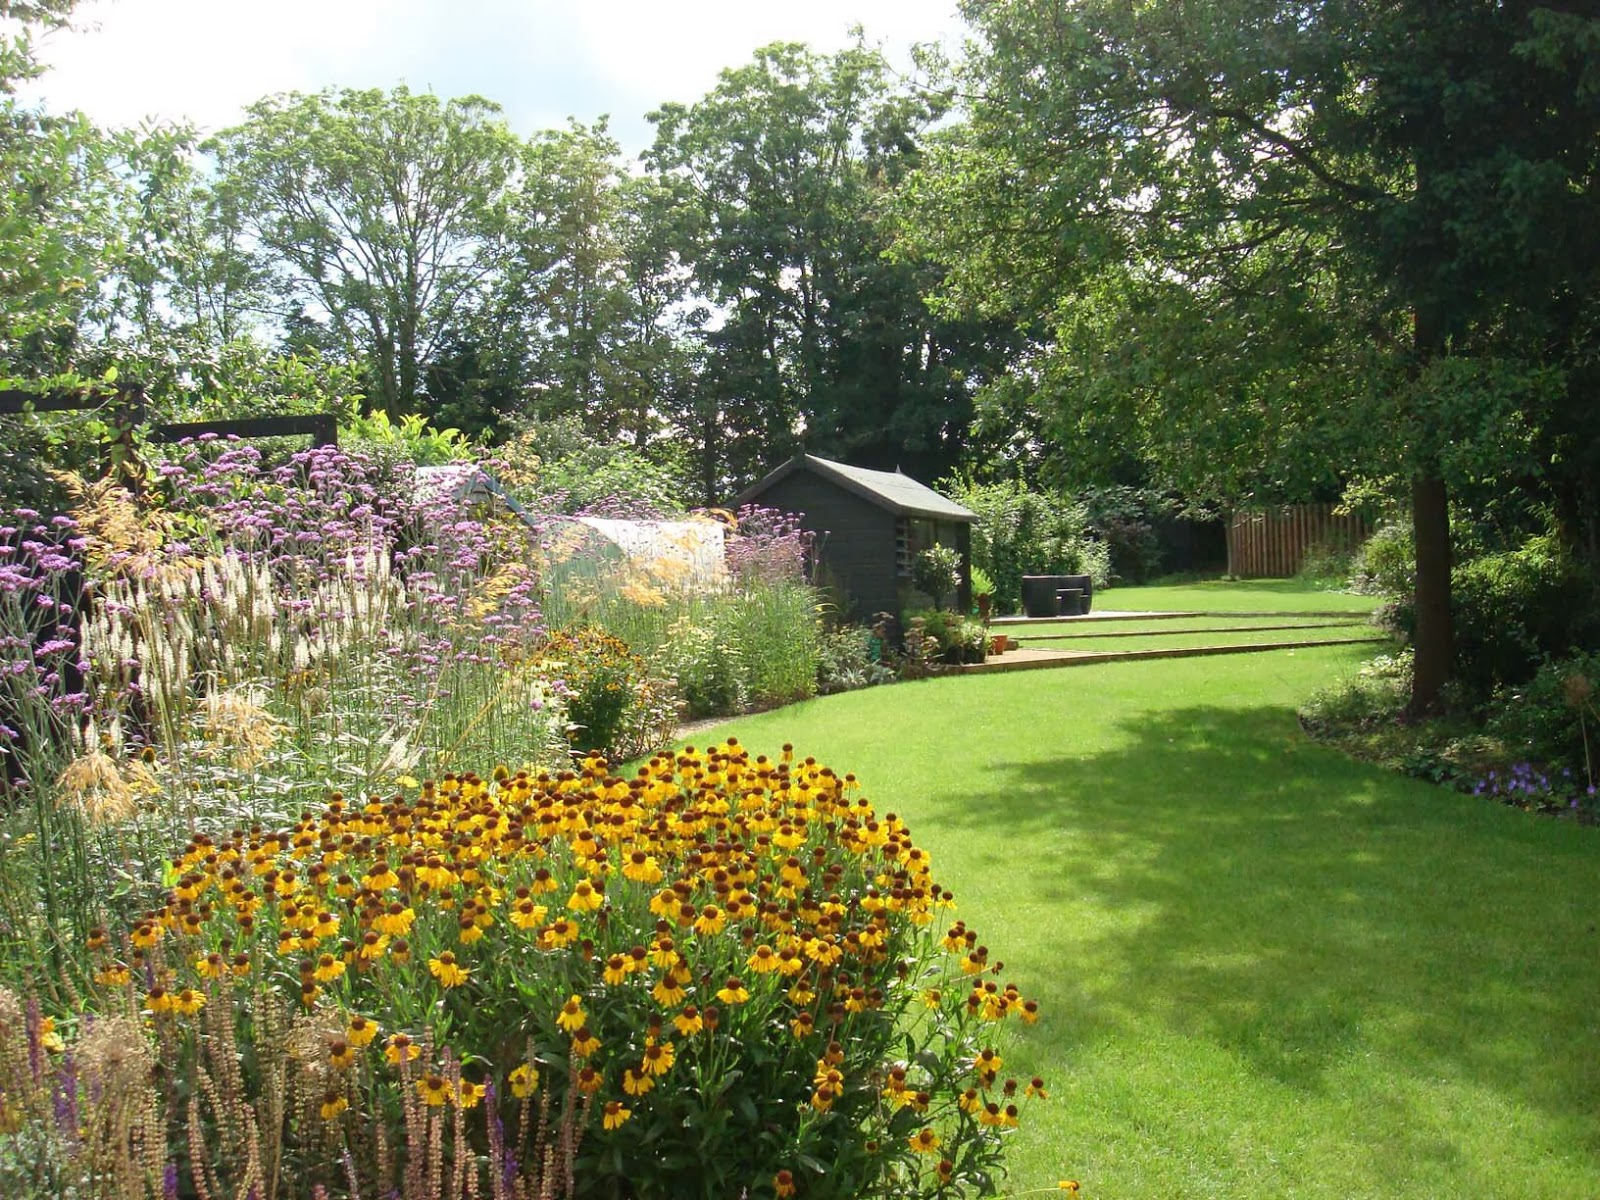
Prarie planting in a garden in Woking, Surrey designed by Linsey Evans Garden Design.  If you'd like help with designing your garden please get in touch.  Visit my Web site and Facebook page for more project photos.  


Thursday 30 May 2013

Garden Design Ideas - How to Lay Garden Paving


Paving is one of the most expensive parts of any garden construction project.  You can calculate the likely cost of laying a patio by working out the square metrage of the area to be paved.  Then use a ‘laid’ or ‘all in’ cost of £100 per square metre to work out how much it will cost to get a landscape contractor to lay the patio.  So, if you want a patio that measures 5m x 7m the total area will be 35 square metres which will cost £3500 if you use a medium priced paving slab.

 Random Indian Sandstone Paving - Berkshire Garden Design

If the site is open and flat, laying paving is not too difficult for someone with good DIY skills who is not averse to hard physical work. So, if you decide to do the work yourself here are some basic instructions on how to lay a patio.

Start by measuring out the area to be paved and marking it clearly.  Aerosol cans of spray line marker are available from builders merchants and area ideal for this purpose.  Next dig out the area to a deep enough for the sub-base, which needs to be 75mm deep for foot traffic, or at least 150mm deep if vehicles are to be driven over the surface, plus the height of the paving slabs and a mortar bed of 30mm – 50mm. 

The top of the paved area must finish two brickwork courses below the damp proof course at any point where it touches the house. Paving must have a fall of around 1:80 towards an area of lawn or planting or a drain to enable surface water to drain from the surface.


Construction detail - cross section of paving


The commonest sub-base material is MOT Type 1 hardcore often referred to as scalpings.  This material is tipped into the excavated area, roughly leveled then compressed to a hard surface using a vibrating plate, often called a whacker plate. This surface should be flat, but don’t worry if it is not absolutely level as the difference can be adjusted with the mortar bed.

The best way to lay the paving slabs is to use a full mortar bed.  If you don’t use a full mortar bed there will be gaps under the paving which can cause it to sink and crack over time.  A mortar mix is placed on top of the sub-base to fix each slab securely to the sub-base.  A suitable mortar mix is 1:5, which means 1 part cement to 1 part sharp sand.


 Sandstone Paved Circle - Windsor Courtyard Garden Design

Start laying the paving in one corner of the marked out area.  If the paving is being laid by the house start at the house wall and work out.  Put down enough mortar mix to create a bed for one slab.  Level it out so that it is covering the area where you want to lay each slab and rough up the surface with the spade to ensure the slab will stick to the mortar.  It is important to create a mortar bed for each slab separately to cater for varying slab thicknesses.  Use a string line to keep lines straight and a spirit level to check the falls as you work across the area.  Use an angle grinder to cut slabs where necessary.  After the paving is laid do not walk on it for 24 hours to allow the mortar to set hard.


 Granite Paved Terrace - Buckinghamshire Garden Design

Most paving is laid with a gap in between each slab of around 10-15mm.  This is later filled with mortar.  This gap is called a pointing gap and should be measured (keep a small piece of wood of the correct width in your pocket to check) to ensure it is uniform for each slab.  When the surface is finished and the mortar bed is set you can fill the pointing gaps with a mortar mix.  Use a fairly dry mortar mix, drop it into the gaps and push it in with a pointing trowel and smooth the top.  Remove any loose mortar from the surface to stop it staining the paving.

Sunday 3 February 2013

What Does a Garden Designer Do?


Even though there is a clue in the title there seems to be some confusion about exactly what a garden designer does.  I think it’s the fact that our job title contains the word ‘garden’.  Some people think we’re gardeners, others think we’re landscapers. 

A garden designer’s role is to help people to get the best use out of their outdoor space as well as making the garden look amazing and unique.  Garden designers earn a living by charging a fee for creating the plans for garden layouts and planting schemes and managing garden construction projects. 

I am an experienced and knowledgeable gardener.  However, most of the hands-on gardening (planting, soil preparation and maintenance) on my projects is done by other people under my supervision.  I rarely do any gardening for my clients.  I know a lot about plants - how to specify and combine them for year round colour and interest; which plants like different conditions (shade, sun, boggy, dry, etc); how big they grow, and how to look after them.  As part of my service I design planting schemes for clients and can advise on plants and planting.  But garden design is not only about plants.  Planting design is one part of the service a garden designer provides.

I am often called by potential clients asking whether I can give them a quote for ‘doing their garden’.  What they are asking for is a price for constructing the garden.  I explain that I can give them a quotation for providing the plans for the garden which can then be used to get firm, accurate prices for building their garden.


Master Plan for a half-acre garden

 A garden designer works with clients to create a garden that is beautiful and meets their specific needs.  Garden designers know how to create balance, harmony, and symmetry in a space so that the garden looks wonderful and is a relaxing place in which to spend time.  A great garden can add value to a house by transforming the space into an outdoor room which can be used all year round.  This only happens when the space has been given careful consideration and planning.

 
CAD model of the garden

 A garden designer designs outdoor spaces in the same way an architect designs houses.  However, designing a garden is a completely different skill to designing a house.  Garden designers assess the existing garden and its surroundings in minute detail.  They then create plans for the new garden layout that overcome the technical challenges of each site in response to the client’s brief in a highly creative way.  A good garden designer will be able to come up with a scheme that the client could never have envisaged and exceeds their expectations. 

View of the Pergola and Trellis

 Although garden designers have an excellent understanding of the construction process most of us are not landscapers.  A garden designer is able to discuss the technicalities of the build in detail with the landscape contractor.  This is another plus for clients – you can use your garden designer to make sure your chosen landscape contractor is doing a good job and building the garden to a high standard.  You should always get your garden designer to oversee the construction process it ensures you get the garden that was designed.


CAD model of garden


Clients often don’t understand why they need a garden designer and go straight to a landscaper.  I work with some amazing landscapers who are excellent at what they do which is building gardens.  All of them prefer to build to a well designed plan.  A plan means they know exactly what they’re quoting for and clients can see what is and is not included in their price. 

You would not ask your house builder to design a house or an extension to your house, you get an architect to provide you with plans and the builder uses these during the construction process.  That’s exactly how the garden designer/landscaper relationship works. 


 View of the seating area

Most landscapers are not trained designers.  Some landscapers do offer a design and build service, but the quality of the design can be poor as they make money from the build and not the design.  There are some very good designers who have their own build teams and do a great job, but they are in the minority.


 View of the water feature and pergola from the patio


 A clear garden plan allows the client to see what they’re getting.  I design my gardens on a CAD system that allows me to create a 3-D model so clients can view their proposed new garden from any angle, out of any house window, or from anywhere in the garden.  A good plan and model allows you to really feel how the garden will look and be used before you part with any money for construction.  You will be spending a lot of money on your garden, so you should know what you’re paying for before it’s finished.

The garden in this article was designed by Linsey Evans and she also produced the CAD model and images.  If you need help designing your garden please visit my Web site for all contact details, or email me linsey@linseysgardens.com.

Tuesday 8 January 2013

Garden Design Tips 4 - Surveying Using Offets


In a previous post I described how to use a surveying technique called triangulation to measure garden boundaries and locate accurately other garden elements.  Offsets are another simple, effective way of measuring boundaries, locating borders, structures and other important points within the garden.  They are particularly good for measuring curves.  

Secure a long tape to a known or measured point on the house wall with a tent peg or a screwdriver.  You can use another fixed point if the house is not convenient, but the house is always best as it is composed of straight lines and regular angles.  


Walk with the tape to the end of the garden, unreeling as you go.  Ensure the tape is at a 90° angle to the house. Make sure the tape is flat to the ground and peg it down securely so that it is straight and as taut as possible.  You can buy a special metal square to get the angle right, but a square piece of cardboard or wood will work just as well.  


Take measurements at a 90° angle to the tape at regular intervals and to all relevant features.  Using a rigid metal tape makes it easier to ensure you are measuring at a 90° angle to the tape.  Mark these measurements clearly on the sketch survey.  If the survey becomes too cluttered plot individual features on separate sheets.  Label everything, including any separate sheets clearly to ensure you can translate them onto the finished plan when you draw it up at home.  

Example of measuring boundaries using offsets


Example of measuring a curve using offsets


 If you need help designing your garden please visit my Web site for all contact details.  Have a look at even more of my projects on my Facebook page.